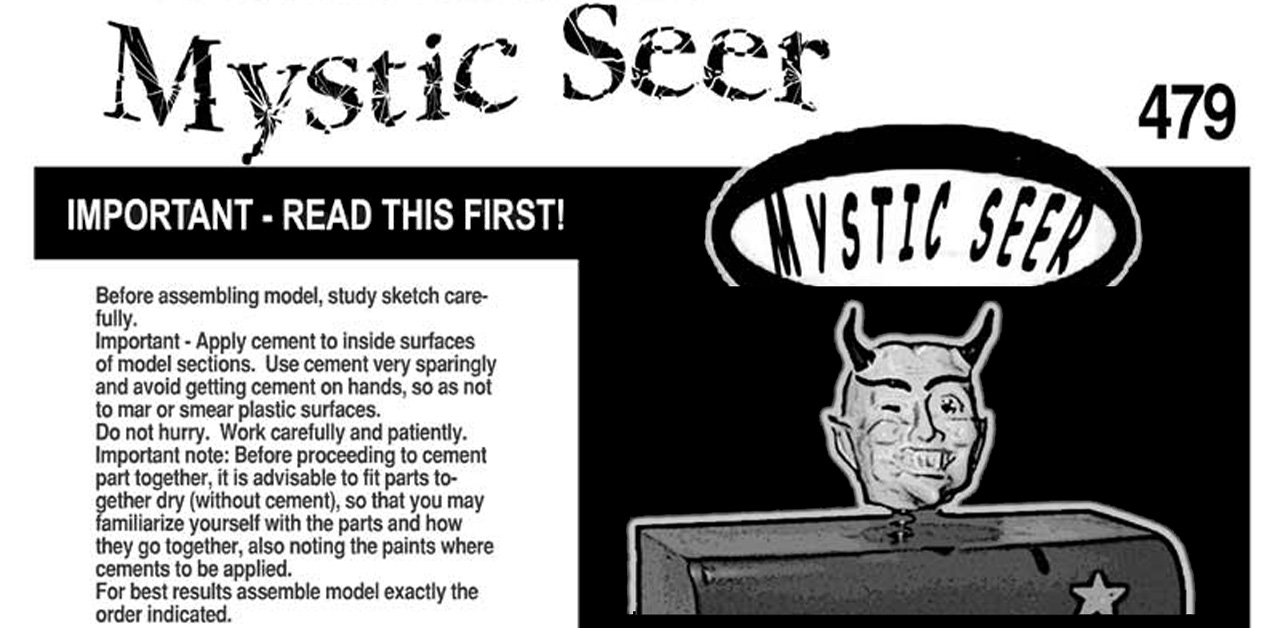
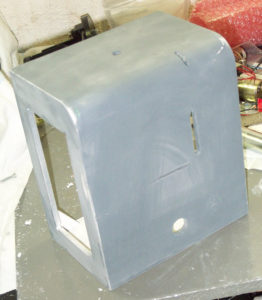
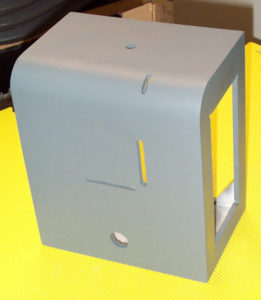
First coat of primer paint…
… Starting to look like the real thing. A little light sanding before the second coat goes on.
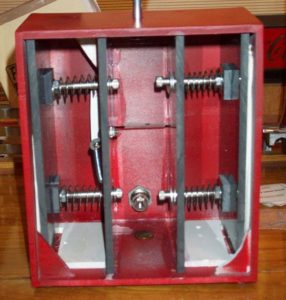
Now, my MS is not really operational. That is, it does not dispense the fortune slips. It does however have a working/spring loaded lever and will collect all the pennies you put into it. Also, the napkin holders are spring loaded and hold the napkins rather nicely.
Sanded with 800 grit sandpaper
Second coat after some wet sanding with 800 grit sandpaper. A little more green putty as needed and a few more coats. Smooooth.
Top Coats – Safety Red
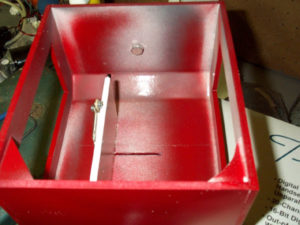
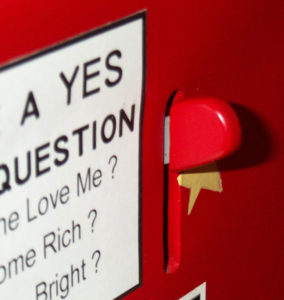
Several top coats with a little sanding in between yielded a nice smooth finish. Krylon Gloss Red Pepper (Safety Red) was the color that matched the best. I taped in place the lever and a napkin for this picture.
Adding Leverage
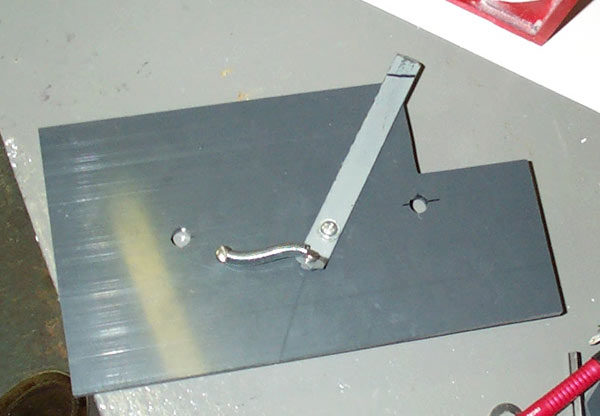
This is the left internal wall (as seen from the back of the MS). It is the one to which the lever mounts. You can see the simple spring I have attached to the end of the lever.
The two holes in the wall are where the bolts will go through that hold the Napkin “pusher”. The square notch cut out of the one corner is where I will put a small coin chute. It is needed because the coin slot does not line up with the center section of the MS where I want the coins to go. For the lever I used an old hack saw blade which I filed off the teeth
I was originally …
…going with a half-wall for the lever mount, but pressing on the level flexed the wall too much so the full wall above was the way to go.
The Internals
Here are both walls in place along with the napkin “pushers”. They sit just to the left and right of the slot in the front. I also added a coin-op type lock I had laying around. You really need to find an older style lock that shows some age. I happen to have some kicking around from an old gumball machine. You want the type with a threaded center so that you can thread a rod to the back cover.
Rounding out the Knob
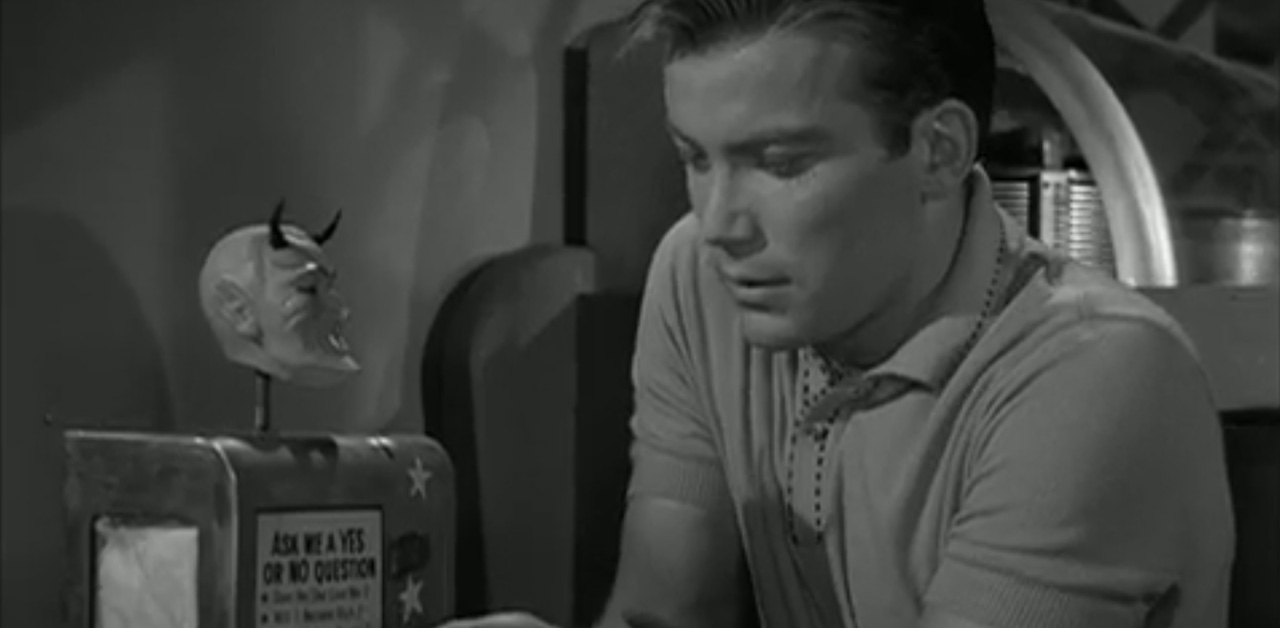
There seemed to be two kinds of levers on the original Swami machines. One with a rounded knob and one with a square knob. The rounded one was used in the TZ episode. I made a replica of the rounded version and made a mold of it. This allowed me to cast the knob directly onto the metal lever.
I captured the labels ..
from a scene on the TZ episode DVD. I sucked them into Photoshop and cleaned them up. The lettering has a slight “smoky” appearance to it that I like.
Since my MS was more of a napkin holder/bank, I was tempted to enlarge it big enough for quarters, but wanted to keep it as original as possible, so I didn’t. The green blobs are spot putty used on plastic models. It is made to work with styrene. You could use an automotive “Bondo” type spot putty but it may soften the plastic and not work as well.
Molding the Devil Head
Coming soon
