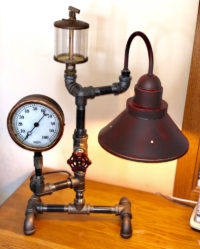
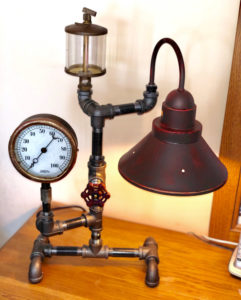
 My wife requested a new lamp for the bedroom. It needed to be small and have a shade on it. Now I had 4 metal wall lamps in my lamp parts stash that I’ve been wanting to put to a good use. I purchased them at one of the big box stores. I always frequent the lamp section where they have a discount shelf or table with miscellaneous bulbs, lamps and other lighting accessories. The items are always marked down, sometimes it’s a pretty good deal and sometimes it’s not. This particular time I spotted a rather large generic brown cardboard box with a single label on the side. It had a small picture of a wall sconce style lamp with a gooseneck shaped rod and a nice metal shade. It was marked down from $59 to $15 which seemed like a pretty good deal.
I whipped out my phone and looked it up on the store web site. Apparently, it was only something you could order online and it was not carried in the store. So, it must have been a return. Next, I noticed the “QTY:4” printed on a lower corner of the box. Could it be there were 4 lamps in the box? The box was sealed tight, so I didn’t want to open it in the store. Well, I took a chance and purchased it. I figured that, worst-case, I had a $59 lamp that I paid $15 for. I got out to the car and cracked open the box and sure enough there were 4 individual boxes inside each containing a complete lamp. The lamp did not seem worth the $59 retail price, and I would have been ok paying $15 for one, but I ended up with 4 for that same price. Now I had a project where I could use one.
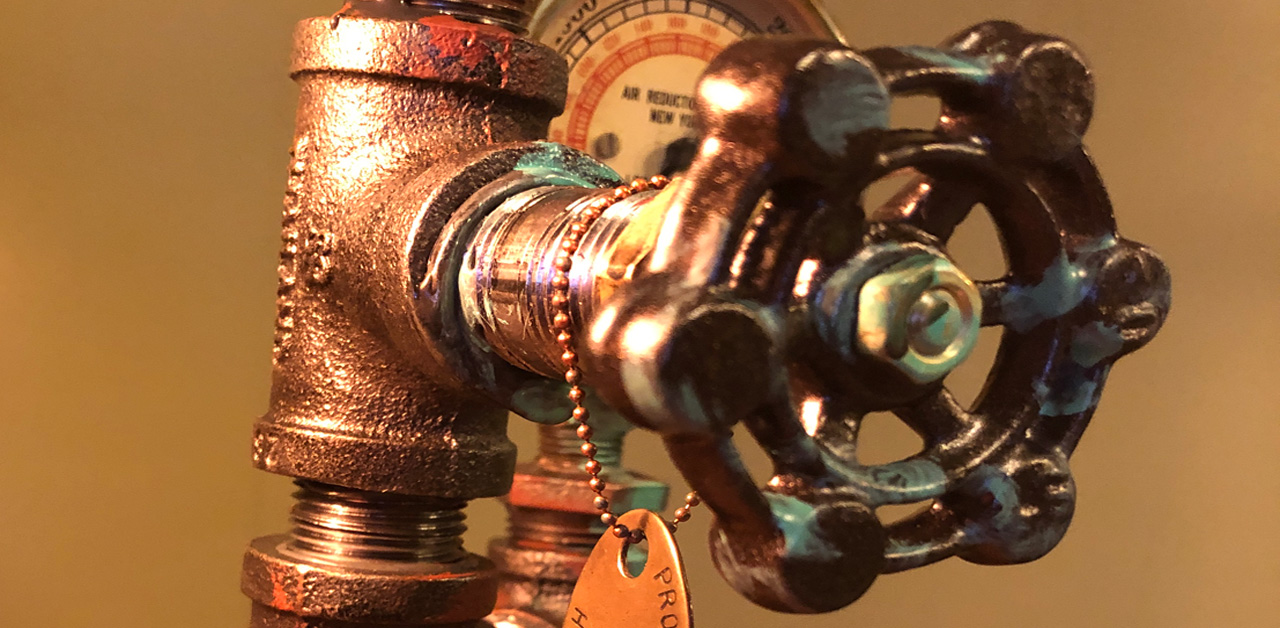
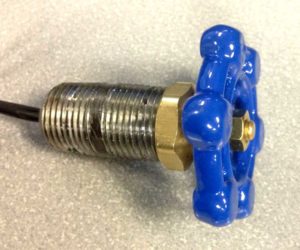 I’m also had kicking around a second water spigot switch that I had previously made. I documented that build here Make a Steampunk Style Faucet Switch The article gives you step by step instructions for making your own water spigot switch. It is complete with assembly pictures. Be sure to check it out and let me know if you have any questions.
I whipped out my phone and looked it up on the store web site. Apparently, it was only something you could order online and it was not carried in the store. So, it must have been a return. Next, I noticed the “QTY:4” printed on a lower corner of the box. Could it be there were 4 lamps in the box? The box was sealed tight, so I didn’t want to open it in the store. Well, I took a chance and purchased it. I figured that, worst-case, I had a $59 lamp that I paid $15 for. I got out to the car and cracked open the box and sure enough there were 4 individual boxes inside each containing a complete lamp. The lamp did not seem worth the $59 retail price, and I would have been ok paying $15 for one, but I ended up with 4 for that same price. Now I had a project where I could use one.
My wife and I next dove into the stash of pressure gauges and meters I had. A few weeks earlier, at a local antique shop, we had picked up a rather large pressure gauge. It was one that I was not very fond of because the brass ring was so beat up. But my wife loved it, so that’s the one she chose.
I mocked up the lamp, but something was missing. Even though it was small, it had this big empty space right in the middle. I suggested that we use one of the “hit and miss” engine oilers that I had collected. They are a great addition to any steampunk project as they have glass and brass elements to them and just look cool. I keep my eye out for them at antique stores or you can search for a Brass Oiler on eBay. They are also available new from Amazon. You can dirty them up a little if you want. I had acquired a few small ones, a medium sized one and a large one (that we got at the same antique store as the pressure gauge). She chose the large one.
I also purchased some great looking three wire lamp cord and a strain relief from my favorite steampunk parts source Vintage Wire and Supply. They are the greatest. They always include a hand written note and usually an extra foot of cord “just in case” as they say in their note. Check them out.


